
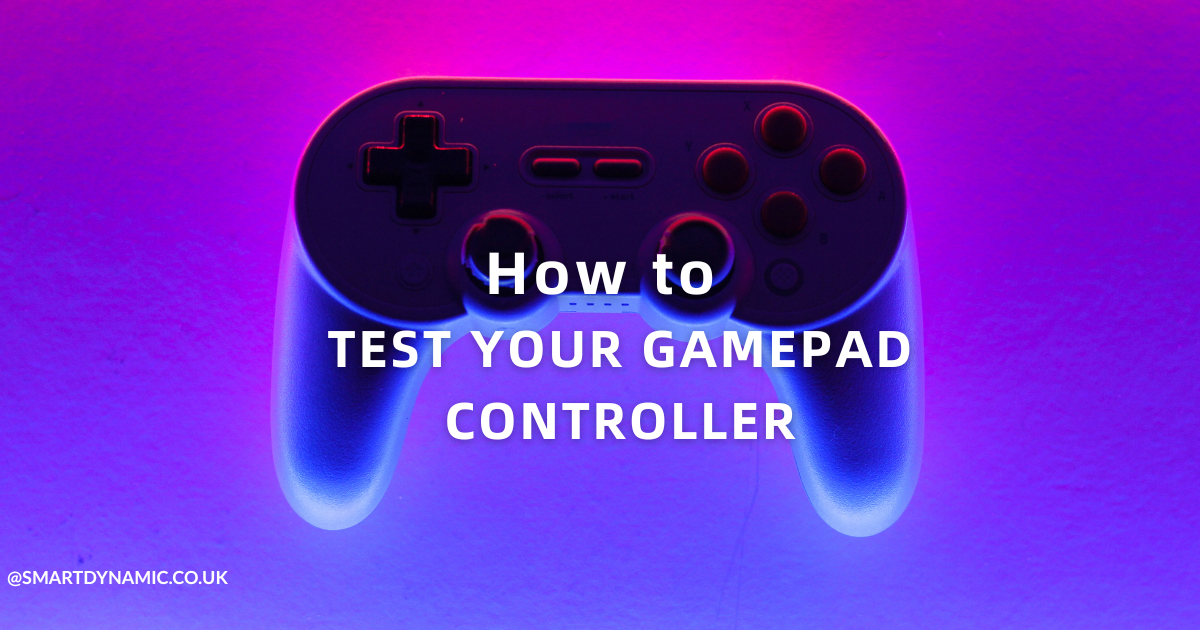

There’s nothing more frustrating than losing a ranked match because your character randomly looks at the sky or your crucial block button doesn’t register. These issues often stem from an unseen problem with your hardware. Knowing how to test gamepad controller functionality is an essential skill for any gamer. It’s the first and most critical step in diagnosing problems, from subtle stick drift to complete input failure. The easiest way to do this is by using a dedicated, browser-based tool like the Smart Dynamic’s Free Gamepad Tester. This guide will walk you through the entire process using this tool, helping you identify issues and get back to seamless gameplay.
Why You Need to Test Your Gamepad Controller Regularly
Think of your controller like a car; it needs occasional check-ups to perform at its best. Regular testing isn’t just for when something is obviously broken. It’s a proactive measure that saves you from in-game headaches and costly replacements down the line.
Catch Drift and Dead Zones Before They Ruin Your Game
Stick drift often starts invisibly. A minuscule miscalibration in a joystick’s potentiometer can slowly grow from a minor annoyance into a game-breaking flaw. By the time you notice your aim subtly pulling to the left during a tense sniper duel, the problem may have worsened. Regular controller drift tests allow you to spot this issue early, often before it even affects gameplay, so you can adjust dead zones in-game or seek a fix before your next critical mission or match.
Ensure Your PC or Console is Recognising Inputs Correctly
Sometimes, the controller is fine, but the communication between it and your device isn’t. Drivers can corrupt, Bluetooth connections can become unstable, and Steam’s robust controller configuration can occasionally misinterpret inputs. Testing confirms that your PC or console is receiving the correct data. You might discover that your PC is reading a trigger press as a binary button or that a specific face button is dropping inputs due to a software glitch, not hardware failure.
Calibrate for Peak Performance in Competitive Games
For competitive gamers, marginal gains are everything. Precise gamepad calibration ensures your thumbstick movements are translated 1:1 in-game. Testing helps you understand the physical response of your controller. You can identify if a trigger has lost its smooth pull or if a joystick has a slightly larger dead zone on one axis than the other. This knowledge allows for finer adjustments in-game or via software, giving you the precision edge you need.
Step-by-Step: How to Test Your Gamepad with Smart Dynamic’s Free Tool
The easiest and most visual way to diagnose your controller is by using a dedicated online tester. We highly recommend using the free, browser-based tool from Smart Dynamic’s Free Gamepad Tester. It’s incredibly user-friendly and provides instant visual feedback.
Step 1: Connecting Your Controller to Your PC
First, connect your controller to your computer. For wired controllers, simply plug in the USB cable. For wireless models, you have two options:
-
Bluetooth: Put your controller in pairing mode and connect via your PC’s Bluetooth settings.
-
Wireless Dongle: Use the official wireless dongle for your controller (common for Xbox controllers on PC).
Once connected, Windows should automatically install the necessary drivers. You can verify it’s connected by going to Settings > Devices > Bluetooth & other devices on Windows 10/11.
Step 2: Navigating the Free Gamepad Tester Interface
Next, open your web browser and navigate to the free online gamepad tester page. The interface is designed to be intuitive. As soon as the page loads, it will attempt to detect your controller. You’ll see a digital representation of a generic controller on the screen. If your controller is connected correctly, you might see a message indicating it’s ready, and some elements may light up automatically.
Step 3: Testing Every Button, Trigger, and Joystick
Now for the main event. Methodically press every single button on your physical controller:
-
Face Buttons (A, B, X, Y / ◯, ×, □, △): Watch for the corresponding button on the screen to highlight.
-
Bumpers (L1/R1) and Triggers (L2/R2): Press them. The triggers will show a pressure value, indicating they are analog.
-
D-Pad: Press each direction.
-
Joysticks (L3/R3): Rotate each joystick in a full circle and press them down as buttons.
-
Start, Select, and Guide Buttons: Don’t forget these.
Step 4: Interpreting the Visual Feedback (What those lights mean!)
The tester provides clear visual cues:
-
A Highlighted Button: This means the button press was registered successfully.
-
Joystick Visualization: As you move a stick, a dot will move within a circle. The dot should return perfectly to the center when you let go. If it doesn’t, you have drift.
-
Trigger Pressure Bars: A bar will fill up as you squeeze the trigger, showing the range of analog input. It should go from 0% to 100% smoothly.
-
Numerical Values: You’ll often see exact numerical values for stick and trigger positions, which is excellent for diagnosing subtle issues.
Common Controller Problems and What They Look Like in the Tester
Once you know what a healthy controller looks like, spotting a sick one is easy.
Identifying Stick Drift (The Silent Killer of Aim)
What it is: Stick drift is when your joystick registers movement without you touching it.
What you’ll see: In the joystick test, the dot that represents your stick’s position will be visibly off-center when you are not touching the controller. It might jitter or hold consistently in one direction. The numerical values for the X and Y axes will also show a constant value other than zero.
Spotting Unresponsive Buttons or Sticky Triggers
What it is: Buttons that don’t register presses or triggers that don’t return to their full resting position.
What you’ll see: When you press a button, it simply won’t light up on the tester’s virtual controller. For a “sticky” or worn-out trigger, the pressure bar might not reach 100% even when fully pressed, or it might get “stuck” at a certain value and not spring back to 0%.
Diagnosing Connection Drops and Input Lag
What it is: A weak wireless signal or faulty cable causing inputs to be missed or delayed.
What you’ll see: This is trickier but noticeable. Buttons might light up inconsistently, or the tester might seem to “drop” the controller connection momentarily. To test for input lag, watch the screen as you rapidly tap a button. There should be almost instant feedback. Any noticeable delay could indicate a connection or driver issue.
Next Steps: Fixes and Solutions for a Faulty Controller
So, your tester revealed a problem. Here’s what to do next.
Quick DIY Fixes You Can Try at Home
-
For Stick Drift: The first and easiest fix is to manually recalibrate your controller through your system’s settings (here’s the official guide for calibrating an Xbox controller on Windows from Microsoft Support). If that fails, a can of compressed air can be used to blow out debris around the stick base. For more stubborn drift, specialized electronic contact cleaner can often work wonders without requiring disassembly.
-
For Sticky Buttons: Isopropyl alcohol applied sparingly around the edges of a button can dissolve grime and stickiness. Let it fully evaporate before use.
-
Connection Issues: For wireless controllers, try re-pairing the device, using a different USB port for a dongle, or replacing the batteries.
When to Consider Replacing Your Gamepad
If you’ve tried the basic fixes and the problems persist, it might be time for a new controller. This is especially true if:
-
The controller is physically damaged (cracked casing, broken triggers).
-
Stick drift is severe and recalibration doesn’t help.
-
Multiple buttons are unresponsive, indicating widespread internal wear or damage.
-
The cost of professional repair is close to or more than the price of a new controller.
Conclusion: Game with Confidence
A faulty controller doesn’t have to mean the end of your gaming session. By taking a few minutes to learn how to test gamepad controller inputs properly, you empower yourself to diagnose issues accurately. Whether it’s a simple software calibration, a quick clean, or justifying an upgrade to a new piece of hardware, you now have the knowledge to take the next step. Use the free tool to check your gear regularly and get back to doing what you love—gaming with precision and confidence.


2 thoughts on “How to Test Your Gamepad Controller: A Complete Troubleshooting Guide”